When I woke up with yet another acne scar staring back at me in the mirror three years ago, I nearly cried. Despite being in my late twenties, my skin looked like a battlefield – dark spots from old breakouts, uneven patches along my cheekbones, and a stubborn cluster of sunspots across my nose that no amount of concealer could hide.

Disclaimer: This blog post may contain affiliate links. I may earn a small commission for any purchases made through these links.
I’ve spent countless hours (and dollars) trying to fade these marks, testing everything from lemon juice (please don’t) to expensive clinic treatments. After years of trial and error, countless research rabbit holes, and finally consulting with a dermatologist, I’ve developed a skincare routine that has dramatically reduced my hyperpigmentation and given me the confidence to go makeup-free more often.
Hyperpigmentation – those dark patches and spots that form when your skin produces excess melanin – can be triggered by sun exposure, inflammation, hormonal changes, or skin injuries. The good news? With consistent care and the right ingredients, you can fade these marks and prevent new ones from forming. Today I’m sharing my complete, science-backed routine that actually delivers results.
What Causes Hyperpigmentation?
Before diving into the solution, let’s understand the enemy. Hyperpigmentation occurs when cells called melanocytes produce too much melanin (the pigment that gives skin its color) in specific areas. This overproduction creates dark patches that can linger for months or even years without proper treatment.

There are several common types of hyperpigmentation:
Post-inflammatory hyperpigmentation (PIH) is what happens after a pimple, cut, or other injury heals, leaving a dark mark behind. This was my main struggle – every breakout left a souvenir that overstayed its welcome.
Melasma appears as larger, patchy areas of discoloration, typically on the cheeks, forehead, and upper lip. It’s often triggered by hormonal changes (pregnancy, birth control) and worsened by sun exposure. My sister developed this during her pregnancy and calls these patches her “pregnancy mask.”
Sunspots (or solar lentigines) develop after years of sun exposure and usually appear as small, concentrated dark spots on areas that see the most sun – face, hands, and shoulders.
The first step to treating hyperpigmentation is understanding which type you’re dealing with, though my routine addresses all types with a multi-pronged approach.
Key Ingredients to Look for in Hyperpigmentation Products
The skincare market is flooded with “brightening” products, but not all are created equal. Through my research and conversations with dermatologists, I’ve learned which ingredients actually work:
Vitamin C: This powerhouse antioxidant inhibits melanin production and protects against free radical damage. It brightens skin tone overall while fading existing dark spots.
Niacinamide (Vitamin B3): A gentle yet effective ingredient that reduces inflammation and interferes with melanin transfer, helping fade discoloration without irritation. This was a game-changer for my sensitive skin.
Retinoids: Derivatives of Vitamin A that accelerate cell turnover, helping your skin shed pigmented cells faster while boosting collagen production. They’re the gold standard for treating multiple skin concerns, including hyperpigmentation.
Alpha Arbutin: A natural brightening agent that inhibits tyrosinase (an enzyme involved in melanin production) more effectively and safely than hydroquinone.
Azelaic Acid: This underrated ingredient reduces inflammation and kills bacteria while inhibiting tyrosinase, making it especially effective for post-acne marks.
Now, let’s dive into the routine that transformed my skin using these key ingredients:
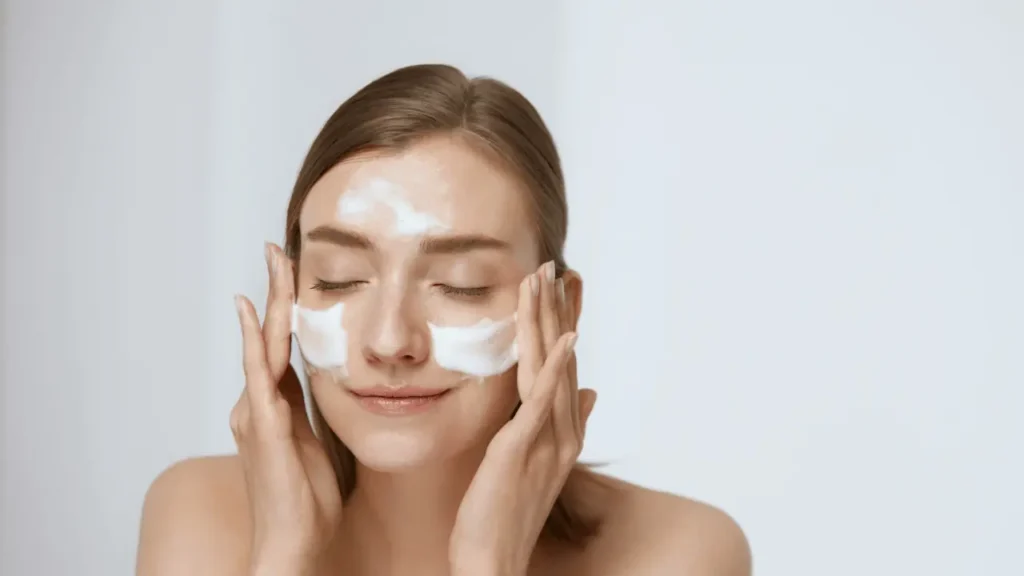
Step 1 – Cleanse Gently
When battling hyperpigmentation, the last thing you want is to create more inflammation, which can trigger additional dark spots. I learned this the hard way after using harsh scrubs that left my skin angry and resulted in more pigmentation.
Look for cleansers that effectively remove dirt and makeup without stripping your skin’s natural moisture barrier. My dermatologist emphasized that a healthy barrier is essential for healing pigmentation.
I alternate between CeraVe Hydrating Cleanser (about $15) for morning cleansing and La Roche-Posay Toleriane Hydrating Gentle Cleanser (around $18) in the evening. Both contain ceramides that help repair the skin barrier and hyaluronic acid that maintains moisture – which is crucial for healing skin.
If you wear heavy makeup, consider double cleansing in the evening with an oil-based cleanser first (I like DHC Deep Cleansing Oil), followed by your regular cleanser.
Step 2 – Exfoliate Regularly (But Gently)
Exfoliation was the step I initially got wrong – I either scrubbed too hard with physical exfoliants or used chemical exfoliants too frequently, both of which made my pigmentation worse before I found balance.
Chemical exfoliants help fade hyperpigmentation by removing dead, pigmented skin cells and accelerating cell turnover. They’re far superior to physical scrubs for treating hyperpigmentation.
For beginners, I recommend starting with Paula’s Choice 2% BHA Liquid Exfoliant (around $32) used 2-3 times a week. Salicylic acid penetrates into pores and has anti-inflammatory properties, which help prevent new breakouts while addressing existing dark spots.
If your skin tolerates this well, you can introduce an AHA like The Ordinary Glycolic Acid 7% Toning Solution (under $10) on alternate nights. Glycolic acid has a smaller molecular size that helps it penetrate deeply to break the bonds between dead skin cells.
Remember: Start slow! I initially damaged my moisture barrier by exfoliating daily – not a mistake you want to make. Begin with twice-weekly applications and gradually increase as your skin builds tolerance.
Step 3 – Apply a Brightening Serum
Serums deliver high concentrations of active ingredients deep into your skin. For hyperpigmentation, this step is non-negotiable.
In the morning, I use a Vitamin C serum. If you can splurge, SkinCeuticals C E Ferulic ($169) is scientifically proven to deliver the most stable and effective form of Vitamin C. For a budget option, Timeless 20% Vitamin C + E Ferulic Acid Serum (around $25) is a solid alternative.
For evenings when I’m not using retinol (more on that next), I apply The Ordinary Niacinamide 10% + Zinc 1% (under $10), which not only helps with pigmentation but also controls oil production and soothes irritation.
When my skin needs extra help, I’ll mix in a few drops of The Ordinary Alpha Arbutin 2% + HA (under $10) with my niacinamide serum for enhanced brightening effects.
Step 4 – Use a Targeted Treatment
This is where the heavy lifting happens in your hyperpigmentation routine.
Retinoids are the gold standard for addressing multiple skin concerns, including hyperpigmentation. I use Differin Adapalene Gel 0.1% (around $15) three nights a week. This was previously prescription-only but is now available over-the-counter. It increases cell turnover and reduces inflammation that can trigger pigmentation.
On non-retinoid nights, I apply The Ordinary Azelaic Acid Suspension 10% (under $10), which specifically targets pigmentation while being gentle enough for sensitive skin.
For stubborn dark spots, I spot-treat with Murad Rapid Age Spot and Pigment Lightening Serum (around $72), which contains 2% hydroquinone. Note: I only use this for 8-week periods followed by breaks, as prolonged hydroquinone use can potentially cause other skin issues.
Step 5 – Moisturize and Repair
When using active ingredients like retinoids and exfoliants, your skin needs extra support to repair and maintain its protective barrier.
I’ve found that lighter, layer-able moisturizers work better than heavy creams, which can sometimes trigger breakouts that lead to more pigmentation.
For daytime, I use CeraVe PM Facial Moisturizing Lotion (about $16) – despite the name, it’s light enough for day use under sunscreen and contains niacinamide for added brightening benefits.
At night, especially after retinol, I reach for La Roche-Posay Cicaplast Baume B5 (around $15), which contains panthenol and madecassoside to soothe irritation and accelerate skin repair.
Step 6 – Protect with SPF (The Most Important Step!)
If you take nothing else from this post, please remember this: All your efforts to fade hyperpigmentation are wasted without proper sun protection. UV exposure stimulates melanin production and darkens existing spots in minutes.
After trying dozens of sunscreens, my holy grail is EltaMD UV Clear Broad-Spectrum SPF 46 (around $39). It contains niacinamide and lactic acid, so it’s actively treating your pigmentation while protecting your skin. For a more affordable option, La Roche-Posay Anthelios Melt-in Milk Sunscreen SPF 60 (around $25) offers excellent protection without the white cast or greasy feel.
Reapply every two hours when outdoors, and remember that UVA rays penetrate windows, so wear sunscreen even indoors during daylight hours. I keep Supergoop (Re)setting Powder SPF 35 in my purse for touch-ups over makeup.
Lifestyle Tips to Support Your Skincare Routine
Your skincare products are only part of the equation. These lifestyle adjustments have made a significant difference in my hyperpigmentation journey:
Hands off your face! Every time you pick at a pimple or scab, you’re increasing inflammation and practically guaranteeing a dark mark. I keep hydrocolloid patches (like COSRX Acne Pimple Master Patch) on hand to cover and heal active breakouts without picking.
Wear wide-brimmed hats and seek shade during peak sun hours (10 am-4 pm). My collection of cute sun hats has expanded significantly since beginning my hyperpigmentation journey.
Manage stress through meditation, exercise, or whatever works for you. I’ve noticed my melasma flares during particularly stressful periods, which research confirms is linked to stress hormones.
Stay hydrated and eat antioxidant-rich foods like berries, leafy greens, and fish high in omega-3s. These foods fight free radicals that contribute to pigmentation and support overall skin health.
The Road to Even-Toned Skin: Patience and Consistency
The hardest truth about treating hyperpigmentation is that it takes time – often 3-6 months to see significant improvements. I started noticing changes around the 8-week mark, but some of my deeper sunspots took nearly a year to fade completely.
The routine I’ve shared requires commitment, but I promise the results are worth it. My skin isn’t perfect (whose is?), but the transformation has been remarkable. I’ve gone from avoiding mirrors to actually enjoying my reflection again.
If you’re not seeing improvements after 3-4 months of consistent care, consider consulting a dermatologist who can offer procedures like chemical peels, microneedling, or laser treatments that can accelerate results.
Remember that your skin is resilient and capable of healing. Be patient with the process, celebrate small improvements, and know that with the right care, those stubborn dark spots don’t stand a chance.
Have questions about hyperpigmentation or want to share your experience? Drop a comment below!


Pingback: Beginner's Guide to Starting a Skincare Routine For Hyperpigmentation With Products