Starting a skincare routine for hyperpigmentation can feel like trying to solve a puzzle with missing pieces. When I first decided to tackle my dark spots, I bought every “miracle” product I saw on TikTok—only to end up with red, irritated skin and zero results. It wasn’t until I simplified my approach that things finally clicked. If you’re feeling lost, let me save you the trial-and-error headache. Here’s exactly how to start a hyperpigmentation routine that actually works (without breaking the bank or your skin barrier).

Disclaimer: This blog post may contain affiliate links. I may earn a small commission for any purchases made through these links.
Related Post: What causes Hyperpigmentation?
First Step: Understand Your Skin’s Needs
Before diving into products, take a moment to understand what’s causing your hyperpigmentation. Is it sun damage, acne scars, hormonal changes, or something else? Each type might respond better to specific ingredients. [Check out my in-depth guide on hyperpigmentation causes here].
The good news is that regardless of the cause, the foundation of your routine will look pretty similar. The main difference will be which active ingredient you choose to focus on.
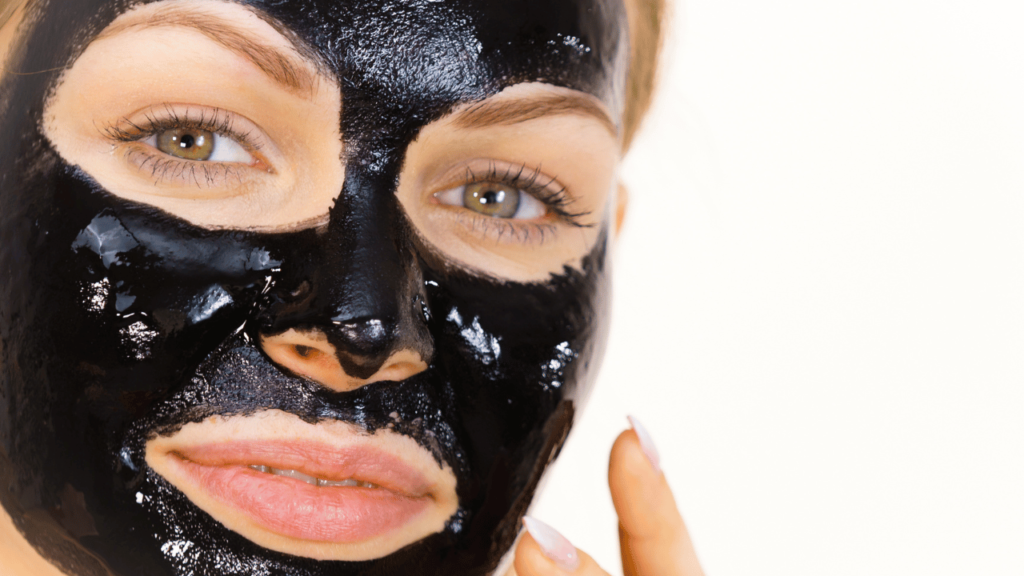
Tip: Don’t skip patch testing! I learned this the hard way after slathering a new vitamin C serum all over my face and waking up to a rash. Sensitive skin needs extra care, so test new products on a small area near your jawline for at least 24 hours before going all in.
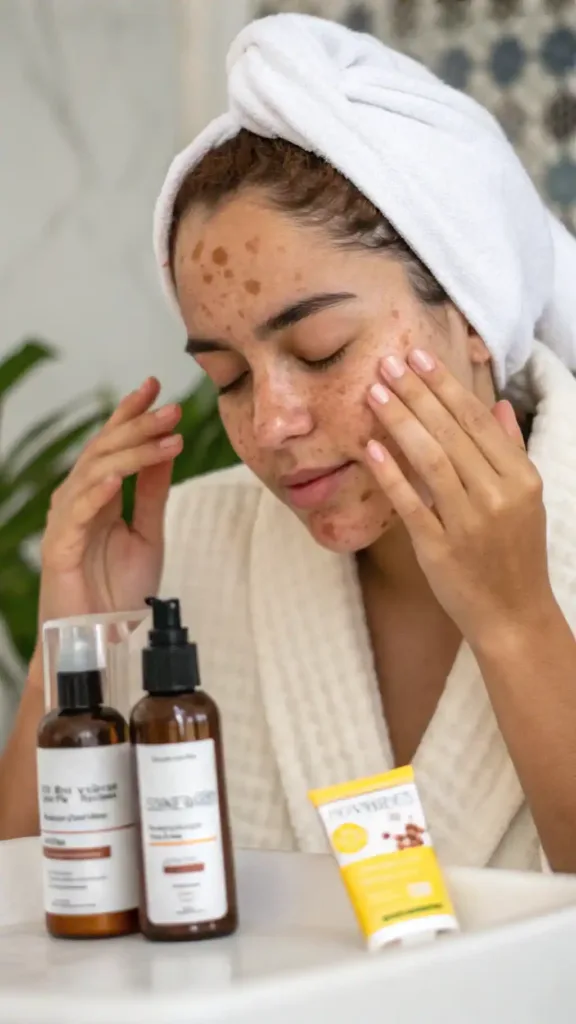
The 4 Essential Products to Start With
Trust me, you don’t need 10 different products to make progress. When I first started tackling my post-acne dark spots, I overwhelmed my skin with too many activities. Let’s keep it simple with these four non-negotiables:
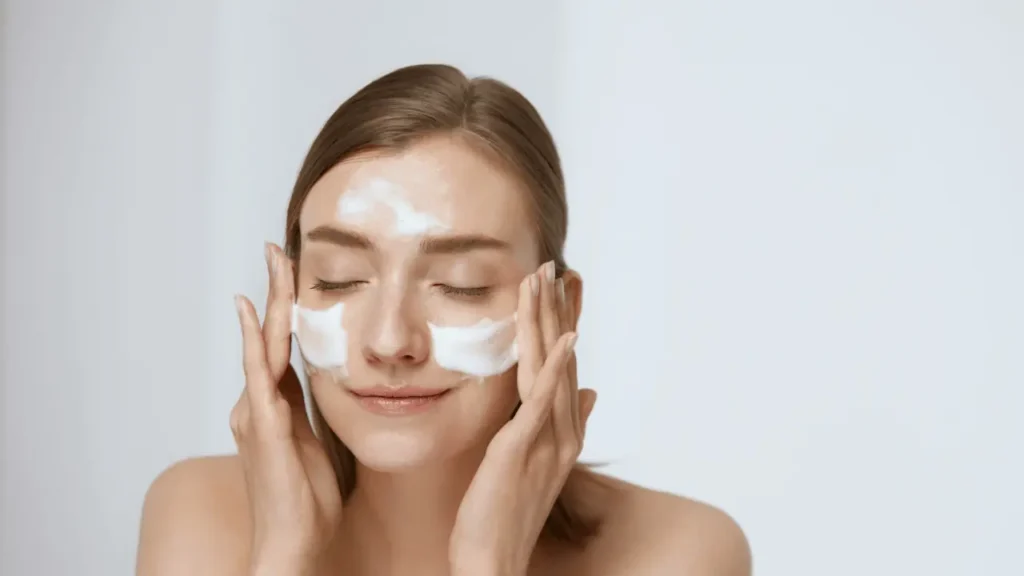
1. Gentle Cleanser
Your cleanser should clean without stripping your skin barrier. Look for hydrating ingredients like ceramides or glycerin.
My recommendation: CeraVe Hydrating Cleanser ($15). This no-frills cleanser gets the job done without irritation—perfect when you’re using active ingredients for hyperpigmentation.
2. Sunscreen (Your New Best Friend)
I cannot stress this enough: SPF is non-negotiable. Hyperpigmentation worsens with sun exposure, undoing all your hard work. Even on cloudy days, even indoors with windows, even in winter—wear sunscreen.
My recommendation: EltaMD UV Clear SPF 46 . Worth every penny for its lightweight feel and bonus niacinamide that helps with hyperpigmentation.
3. Brightening Active (Your Hero Ingredient)
Pick ONE hero ingredient to start. I know it’s tempting to use everything at once, but restraint is key here. Choose from:
- Vitamin C: Brightens and provides antioxidant protection
- Niacinamide: Gentle, reduces discoloration and helps with overall skin health
- Azelaic Acid: Great for post-inflammatory hyperpigmentation, especially from acne
My recommendation for beginners: The Ordinary Niacinamide 10% + Zinc 1% ($6). It’s affordable, gentle enough for most skin types, and plays well with other ingredients when you’re ready to level up.
4. Moisturizer
Even oily skin needs hydration—in fact, dehydrated skin can worsen hyperpigmentation. Opt for lightweight, non-comedogenic formulas if you’re acne-prone.
My recommendation: Neutrogena Hydro Boost Water Gel ($20). Gives you that plump, hydrated feel without heaviness.
Starting with just these four products prevents overwhelm, saves money, and—most importantly—reduces the risk of irritation that can actually worsen hyperpigmentation. I’ve been there with the 12-step routines, and simpler is genuinely better.
How to Layer Products (Without Overdoing It)
Now that you have your core products, here’s how to use them:
Morning Routine:
- Cleanse
- Brightening Active
- Moisturizer
- SPF
Evening Routine:
- Cleanse
- Brightening Active
- Moisturizer
That’s it! No fancy techniques or tools are needed. The key is consistency—stick to this basic routine for at least 6-8 weeks before adding new steps or products. Your skin needs time to adjust and respond.
I know it’s tempting to try that new exfoliant your favorite influencer is raving about, but patience is truly a virtue in skincare. Mark a date on your calendar 8 weeks out, and promise yourself you’ll stick to the basics until then.
3 Common Mistakes Beginners Make
Let me save you from the mistakes I’ve made (and seen countless friends make too):
1. Using Too Many Actives at Once
Using retinol + vitamin C + alpha hydroxy acids together is a recipe for disaster, not faster results. When I tried this approach, I ended up with red, flaky skin that actually developed NEW dark spots from the irritation.
Better approach: Introduce one active at a time, and give your skin at least 2 weeks to adjust before considering adding another.
2. Skipping Sunscreen
I used to faithfully apply my brightening serums at night, then undo all that work by skipping SPF the next day. Hyperpigmentation cannot improve if you’re not protecting your skin from UV damage. Full stop.
Better approach: Make sunscreen application as automatic as brushing your teeth. Keep bottles everywhere—bathroom, purse, car, desk.
3. Expecting Overnight Results
Hyperpigmentation takes patience—think months, not days or weeks. When I started my journey, I nearly gave up after three weeks because I didn’t see dramatic results. Thank goodness I stuck with it.
Better approach: Take a “before” photo in natural lighting, then monthly progress shots. The changes will be gradual, but comparing month 1 to month 3 can be incredibly motivating.

When to Level Up Your Routine
Once you’ve consistently followed your basic routine for 6-8 weeks and your skin feels stable (no irritation, dryness, or new breakouts), you might be ready to carefully add more targeted treatments.
Here’s how to level up:
- If you started with niacinamide: Try introducing a gentle alpha hydroxy acid (AHA) like lactic acid once a week in the evening.
- If you started with vitamin C: Consider adding a retinoid two nights a week (not on the same nights as vitamin C).
- If you started with azelaic acid: You might benefit from adding tranexamic acid to your routine.
The key is to introduce just one new product at a time and use it only 1-2 times per week at first. Your skin will tell you if it’s too much—listen to it!
[For more advanced routine ideas, check out my comprehensive hyperpigmentation treatment guide here.]
Affordable vs. Splurge-Worthy Products
You absolutely don’t need to break the bank to treat hyperpigmentation effectively. Here’s my take on where to save and where to splurge:
Worth Saving On:
- Cleanser: As long as it’s gentle and fragrance-free, an inexpensive cleanser works just fine. The Ordinary Squalane Cleanser ($8) is a fantastic option.
- Niacinamide: The Ordinary’s Niacinamide 10% + Zinc 1% ($6) performs just as well as pricier options.
- Moisturizer: CeraVe PM Facial Moisturizing Lotion ($16) has ceramides and niacinamide at a fraction of high-end prices.
Worth the Splurge (If You Can):
- Vitamin C: The Ordinary’s Alpha Arbutin ($10) is a steal, but SkinCeuticals’ CE Ferulic ($182) is worth the hype if you can invest. The formulation is more stable and penetrates better.
- Sunscreen: This touches your face every single day, so finding one you love enough to use consistently is crucial. EltaMD UV Clear ($39) or La Roche-Posay Anthelios Melt-In Milk ($36) are worth every penny.
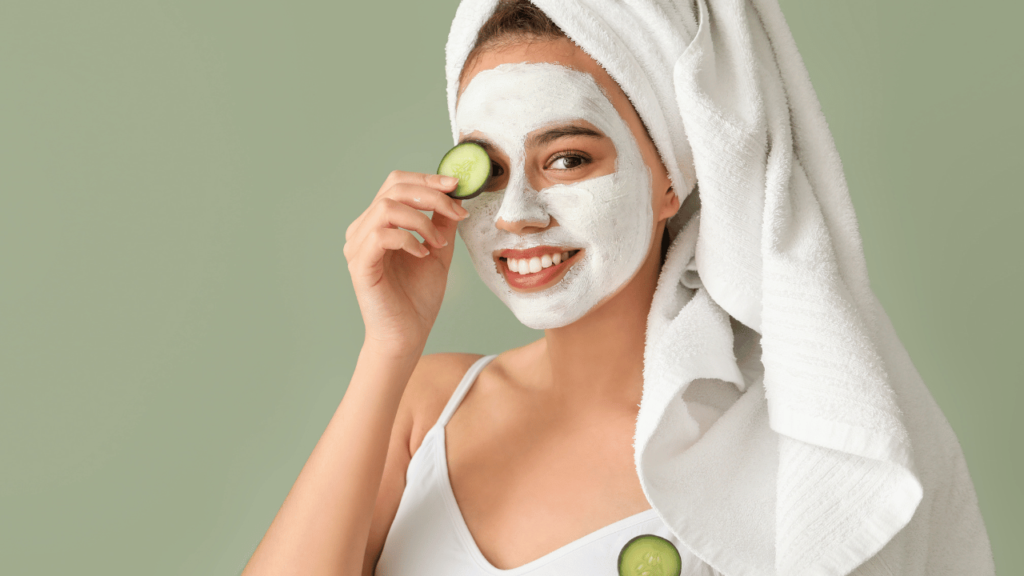
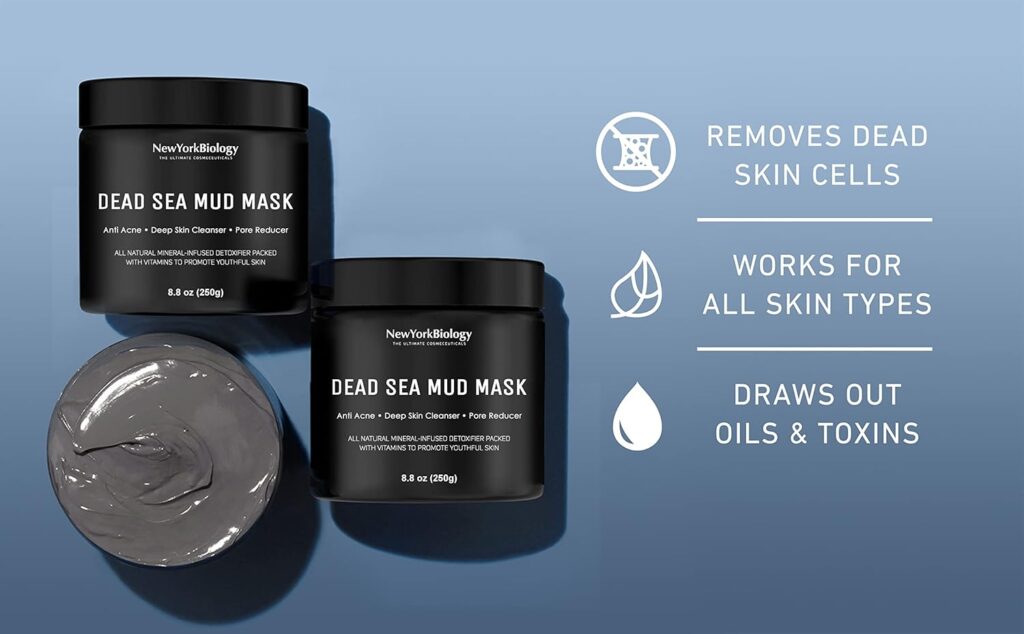
- Treatment masks: When you’re ready for occasional intensive treatments, Paula’s Choice 25% AHA + 2% BHA Exfoliant Peel ($44) delivers professional-level results.
Remember: an effective, consistent $50 routine you love using will always outperform a neglected $500 routine gathering dust on your shelf.
What to Expect (A Realistic Timeline)
Let’s talk about when you’ll actually see results—because I wish someone had given me realistic expectations when I started.
- Weeks 1-4: You might notice improved overall skin texture and tone, but minimal change in existing dark spots.
- Weeks 4-8: Newer, less intense hyperpigmentation may start to fade slightly.
- Months 2-3: This is typically when you’ll start seeing noticeable improvements in newer dark spots.
- Months 3-6: Significant fading of even stubborn hyperpigmentation becomes visible.
- Months 6+: Continued improvement, with some spots potentially disappearing completely.
I strongly recommend taking progress photos in the same lighting once a month. There will be days when you feel like nothing is changing—having those photos to compare can be incredibly motivating.
You’ve Got This!
Your skin didn’t develop hyperpigmentation overnight, and healing takes time. But with a simple, consistent approach, you absolutely can see improvement. I went from feeling constantly self-conscious about my dark spots to confidently going makeup-free most days—and the journey started with just those four basic products.
Remember that skincare is a marathon, not a sprint. Be patient with yourself and your skin. Celebrate small victories along the way, and don’t get discouraged by setbacks.
I’d love to hear about your starting routine! Share in the comments what you’re using, and I’ll be your personal cheerleader. We’re on this journey together!
[Image placeholder: Before-and-after collage of my hyperpigmentation journey]